Lesson 1: Basics
Install Unity
At the page https://store.unity.com/ you can choose the version to download.
For beginners, the personal (and free) edition is more than enough.

Install it, by following the instructions. It is an easy task.
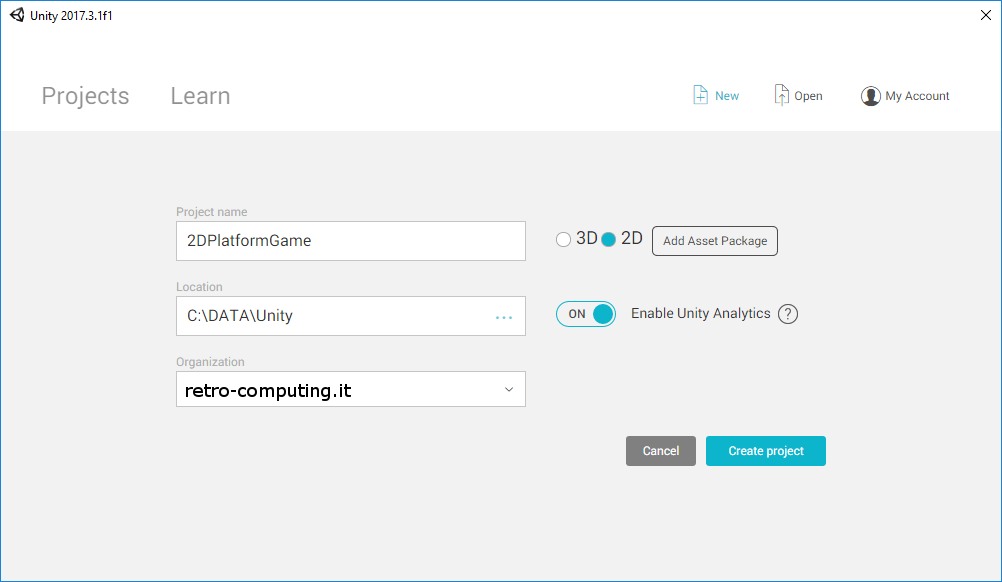
Create a new project
Once Unity has been installed, run it and start a new project. Type the name and select 2D option.
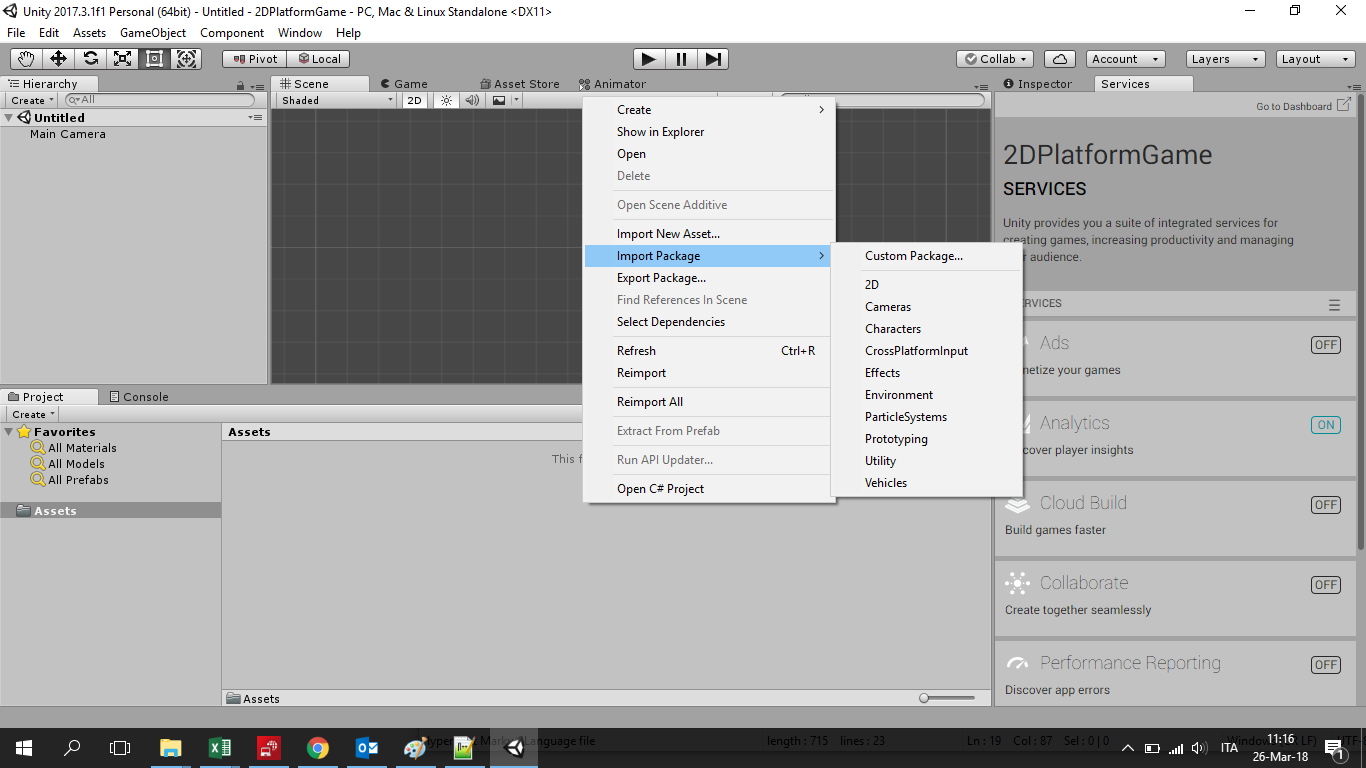
First of all, you have to know that you can import 2D assets already prepared by Unity, to simplify your work.
There are two way to get them.
You can go on the project panel and right, and then select "import Package" in the context menu.
Alternatively, you can go to the Unity store at the following url: https://assetstore.unity.com/ .
I suggest that you use the second option: updated standard assets are available and you can browse them by category and have a preview.
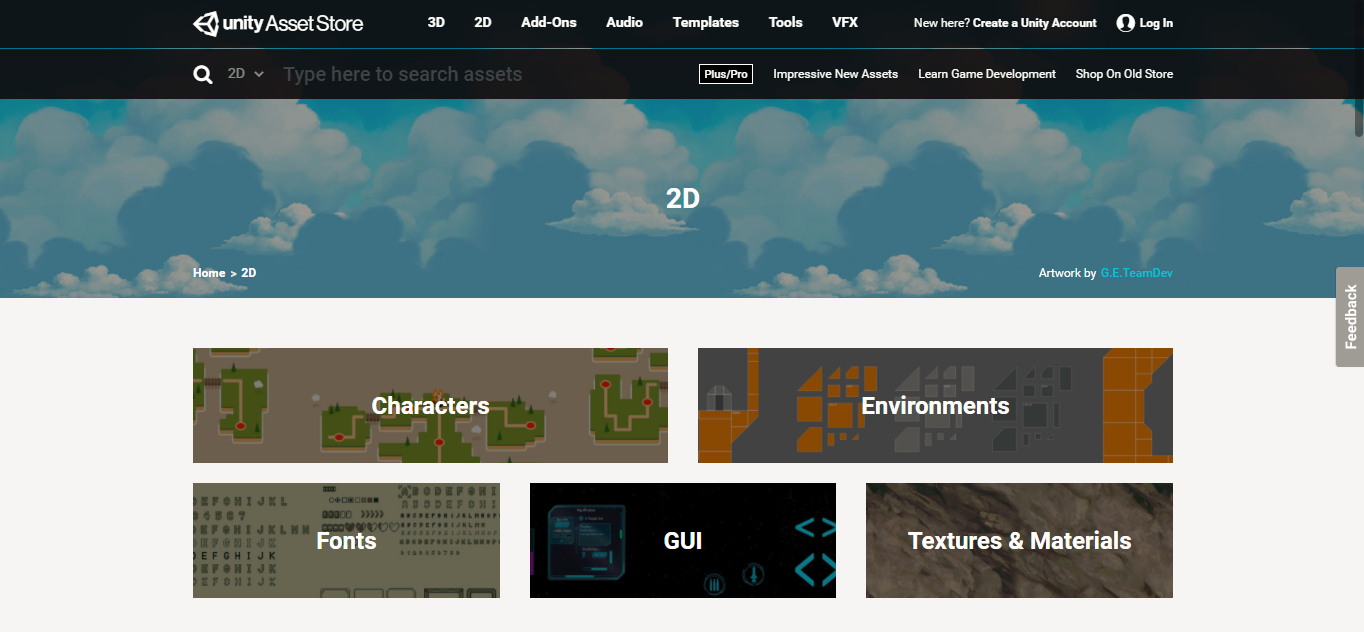
You can use pre-made assets to understand how they are structured and obviously you can copy from them.
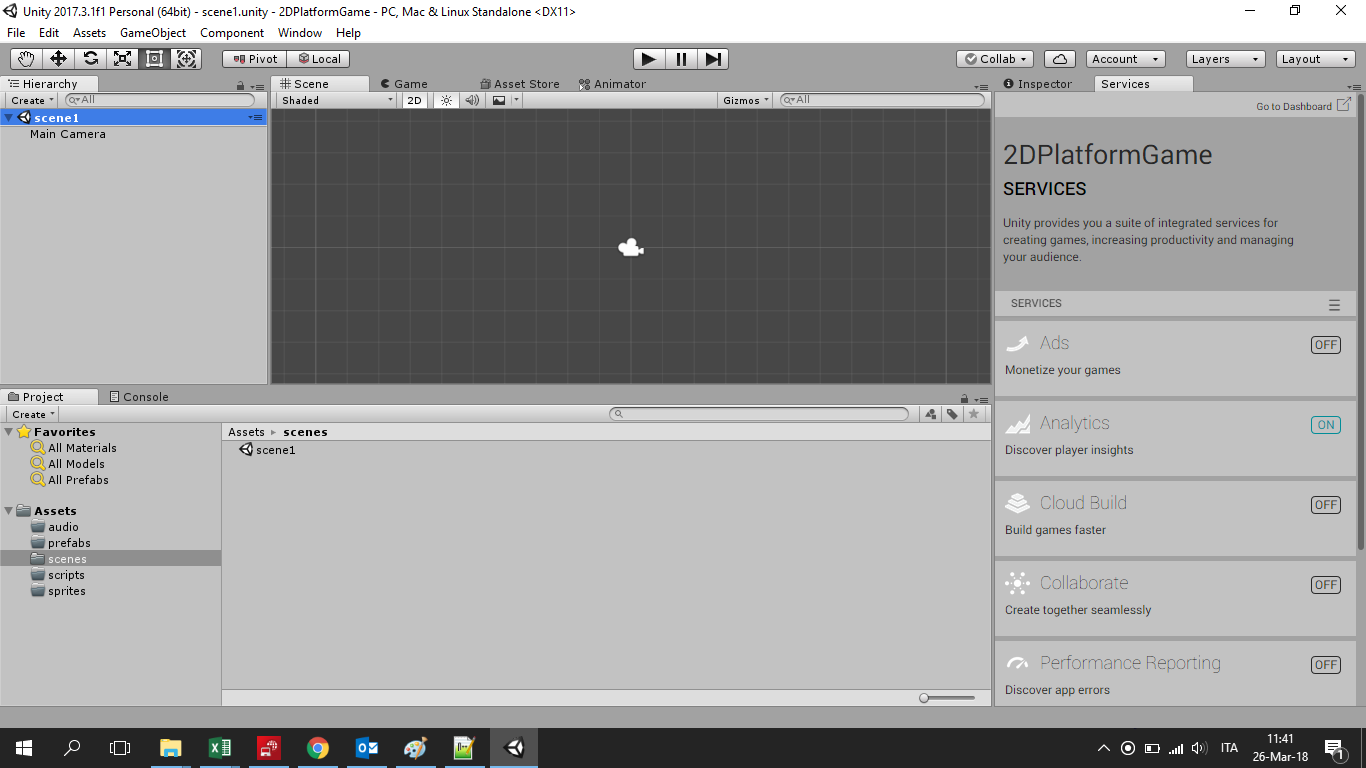
As preliminary action, we can create a few folders for our project by right-clicking on the panel and selecting "create folder".
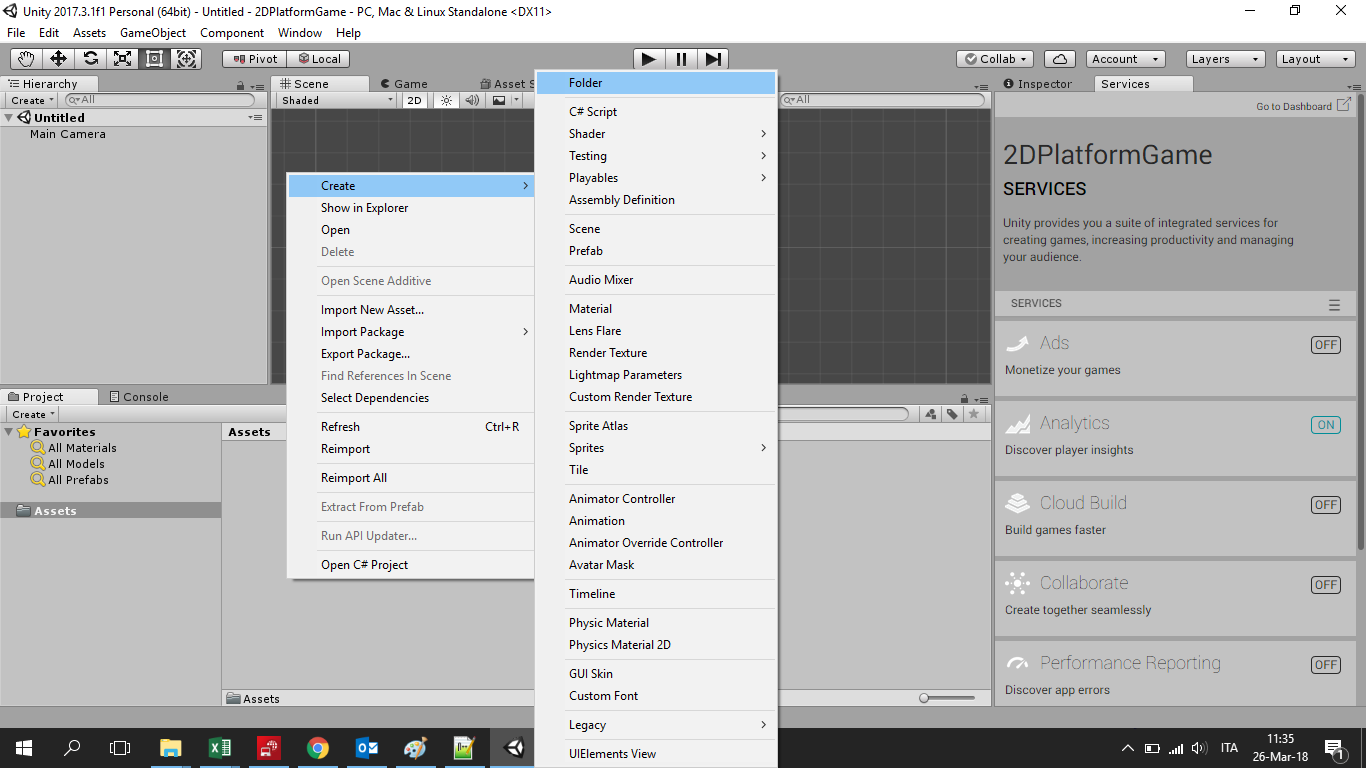
I usually create the following ones: audio, prefabs, scenes, scripts, sprites.

At this point save the current scene in the namesake folder: it will be our first level.
The main character
Let we start with the main character.
First of all we need a sprite for our hero. In computer graphics, a sprite is a two-dimensional bitmap that is integrated into a larger scene.
You can use a simple square and modify it later, or you can use a pre-made character (on unity store you will find dozens of free characters), or you can design it by your own. I prepared a tilemap for the main character and saved it into the folder: sprites\player.
A tilemap is a two-dimensional grid made up of rectangular tiles of equal size, each of which can display an image. Each one of those image is a movement of our player. Those images will allow us to make the player animated.
The right panel of the Unity desktop is the inspector: it provides us all the information needed for each game element.
To create the player tile set, perform the following instructions.
Select the 2D image you want to edit from the Project View. Please note that you cannot edit a sprite which is in the Scene View.
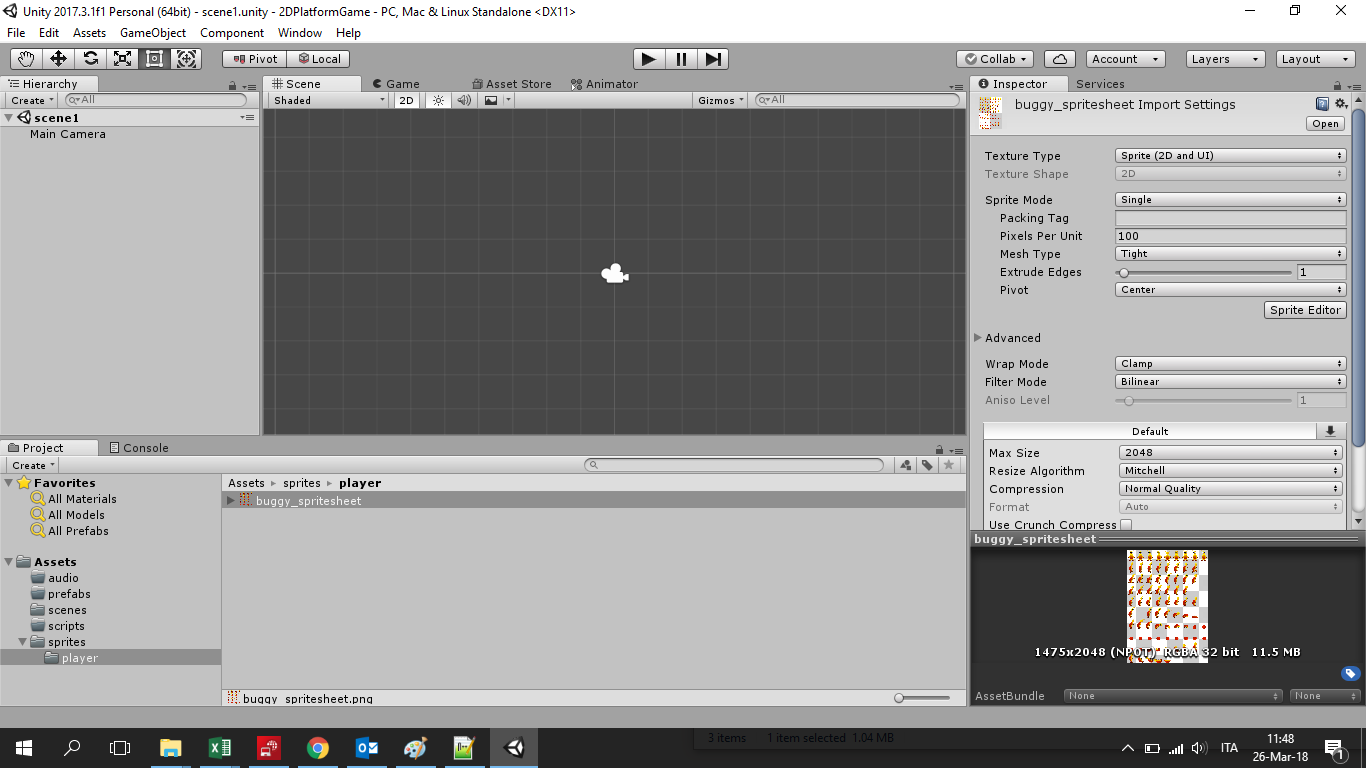 select Texture type = "Sprite (2D and UI)" and Sprite Mode = "Multiple"
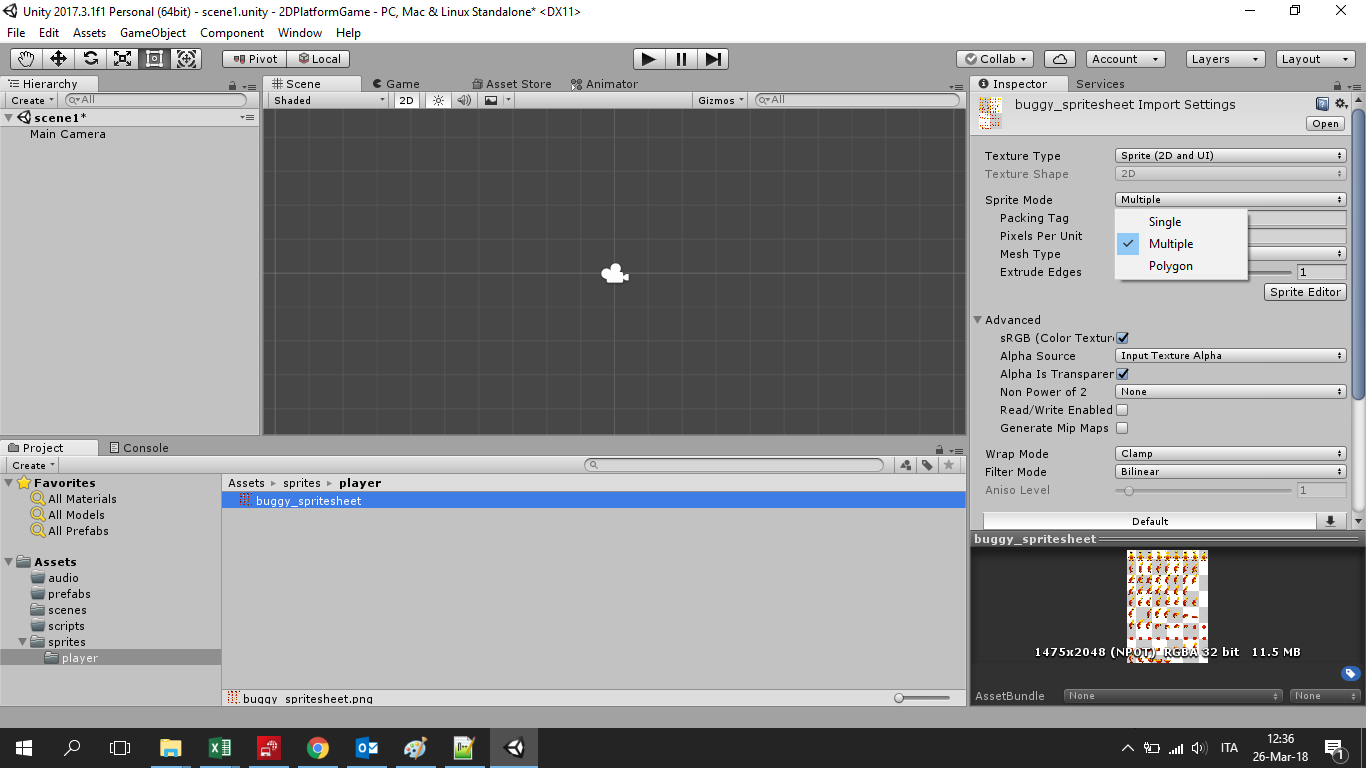 Then click on the "Sprite Editor" button
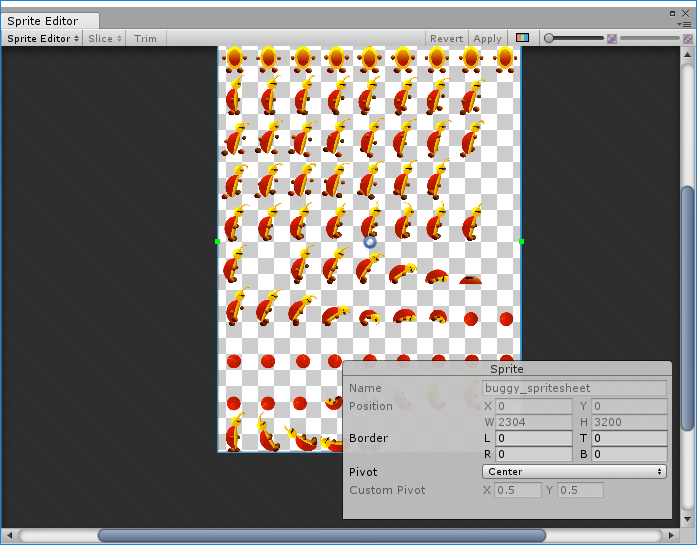 Select "Slice" and cut the tilemap according to your pics and size
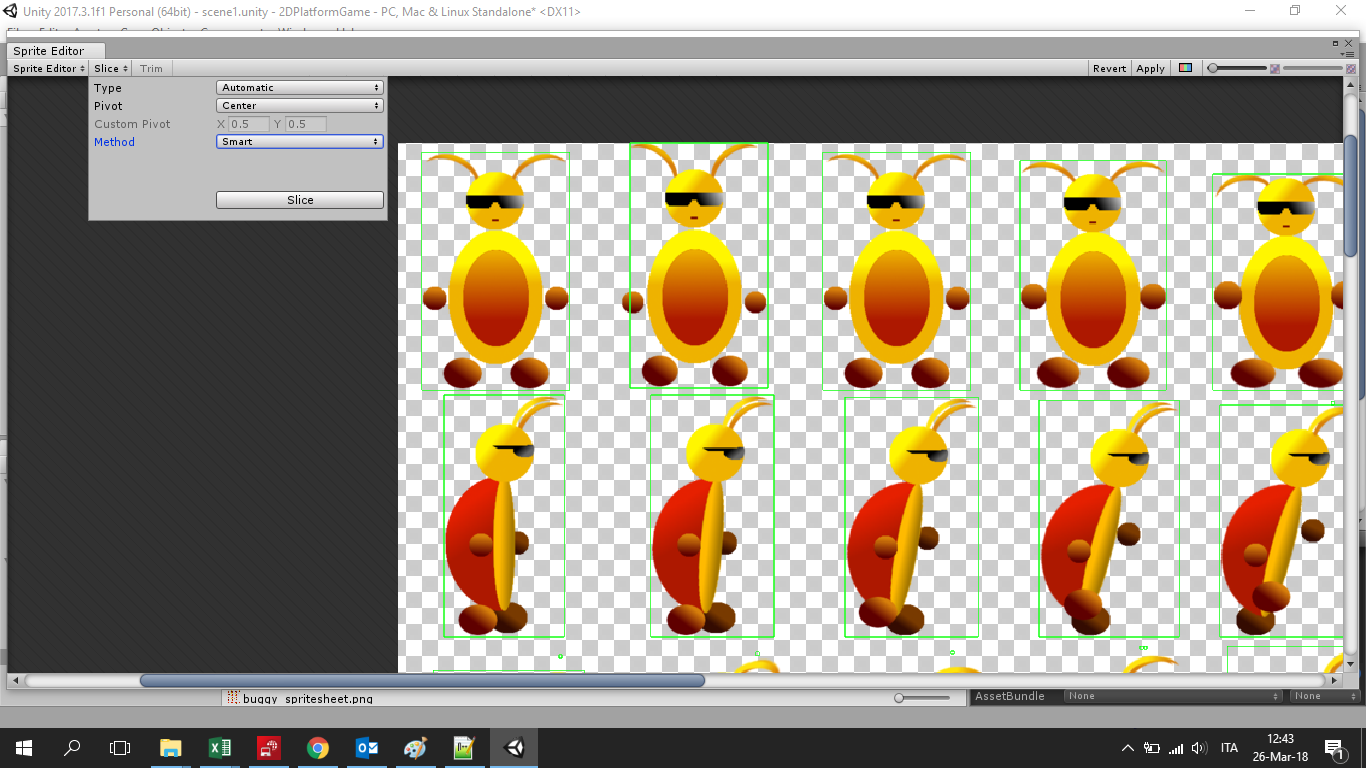 Then slice it, by clicking on "Apply". Unity will automatically cut the map into single images. Your character sprite contains now the single images of the tilemap.
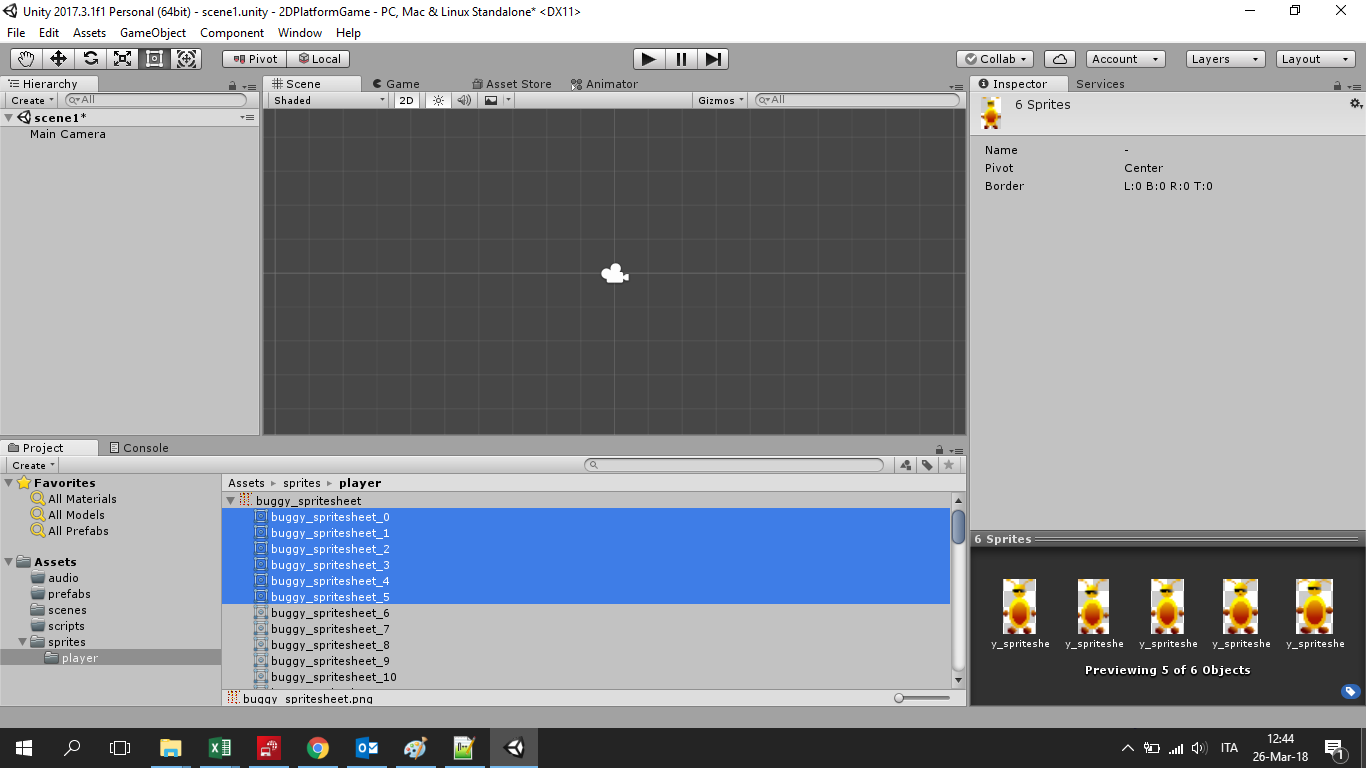 Now select the sprite from the project panel and drag and drop it on the scene. As soon as you release it, Unity asks you to save it as an animation. I created a new folder called "animations" and saved it there.
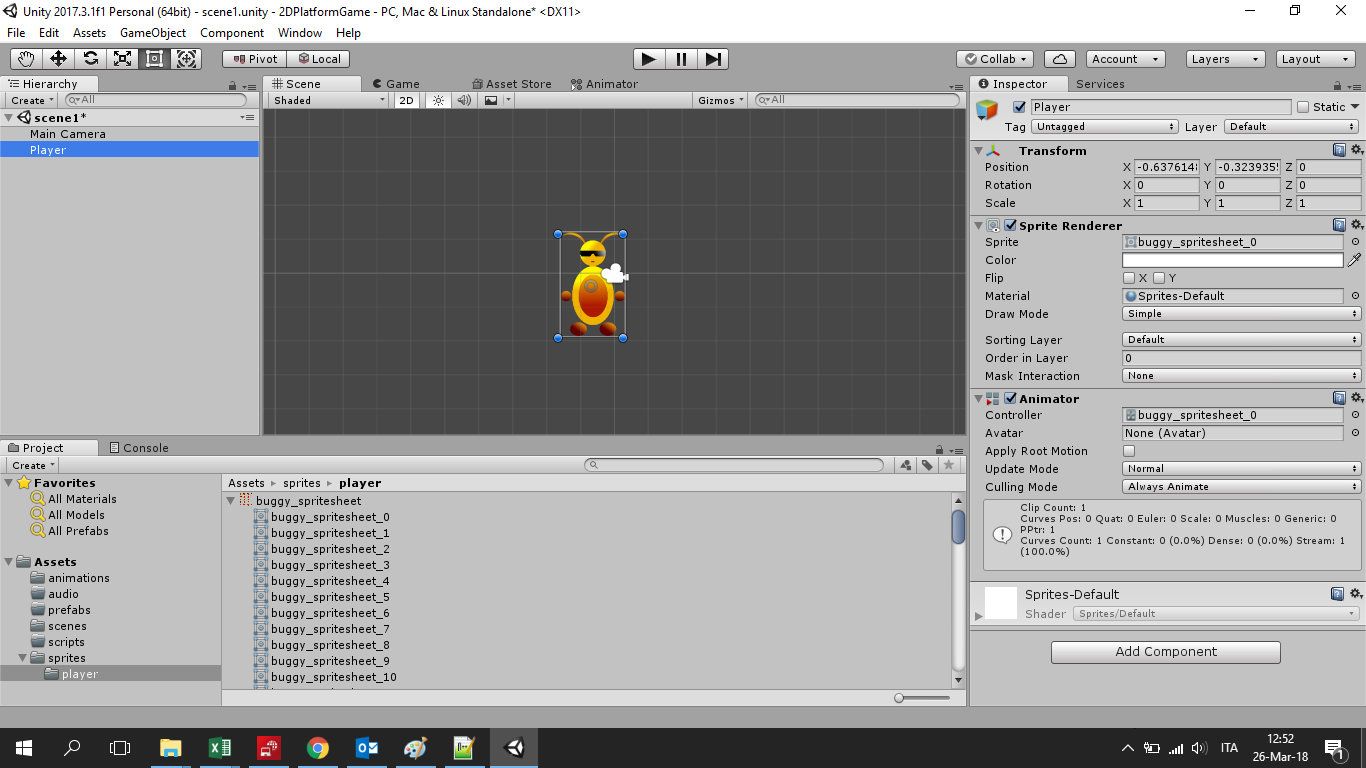
Ok, we have done it! If you press the play button on top of the Unity desktop, you will see the player's animation.
The ground
Now we are going to design the ground of our platformer.
You can find a lot of pre-made sprites for your ground. I prepared a few sprites for the ground with Gimp (https://www.gimp.org/downloads/).
To crate a ground for the game, few steps are needed. Basically:
As for the main character, you can import the sprites in the project by putting them in the "sprites\grounds" folder.
Simply drop the sprite in the scene or use the Tile palette of Unity (we will go deeper with this in the following)>
Select the sprite and in the Inspector panel add the componenet "Physics2D -> Box Collider 2D"
As above is enough to create a ground for our game, anyway Unity provide us a good tool for do that and this tool is the already mentioned Tile palette.
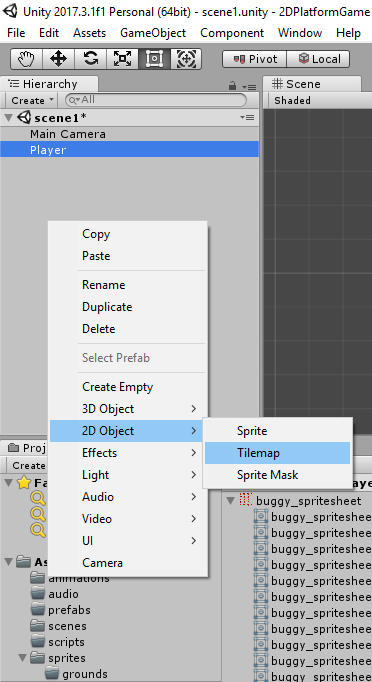
First of all right-click on the Hierarchy panel and select
2D object -> Tile map. Unity will create a new object in the hyerarchy called Grid.
After that, from the
Window menu select
Tile palette. A popup will open.
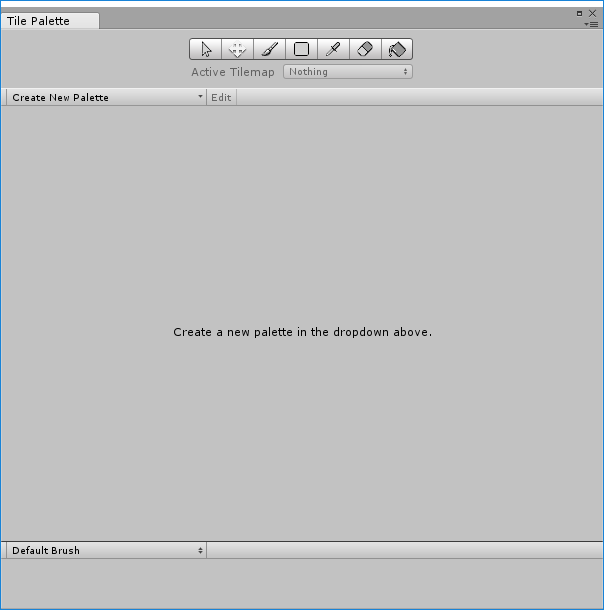
Create a new palette and select the folder you want to put the asset into.
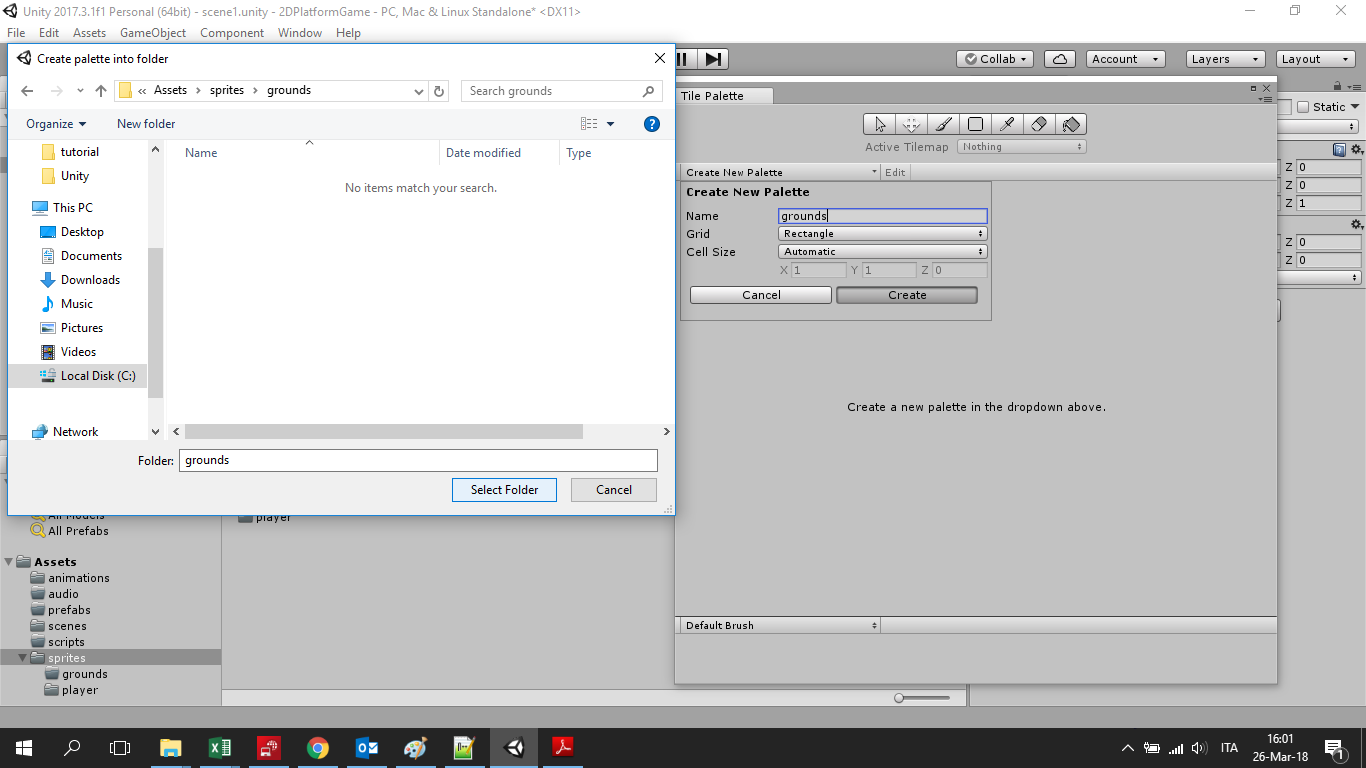
Then drag and drop the sprites you prepared or downloaded for the ground. Unity will create additional files for the tiles because information about tiling are included.
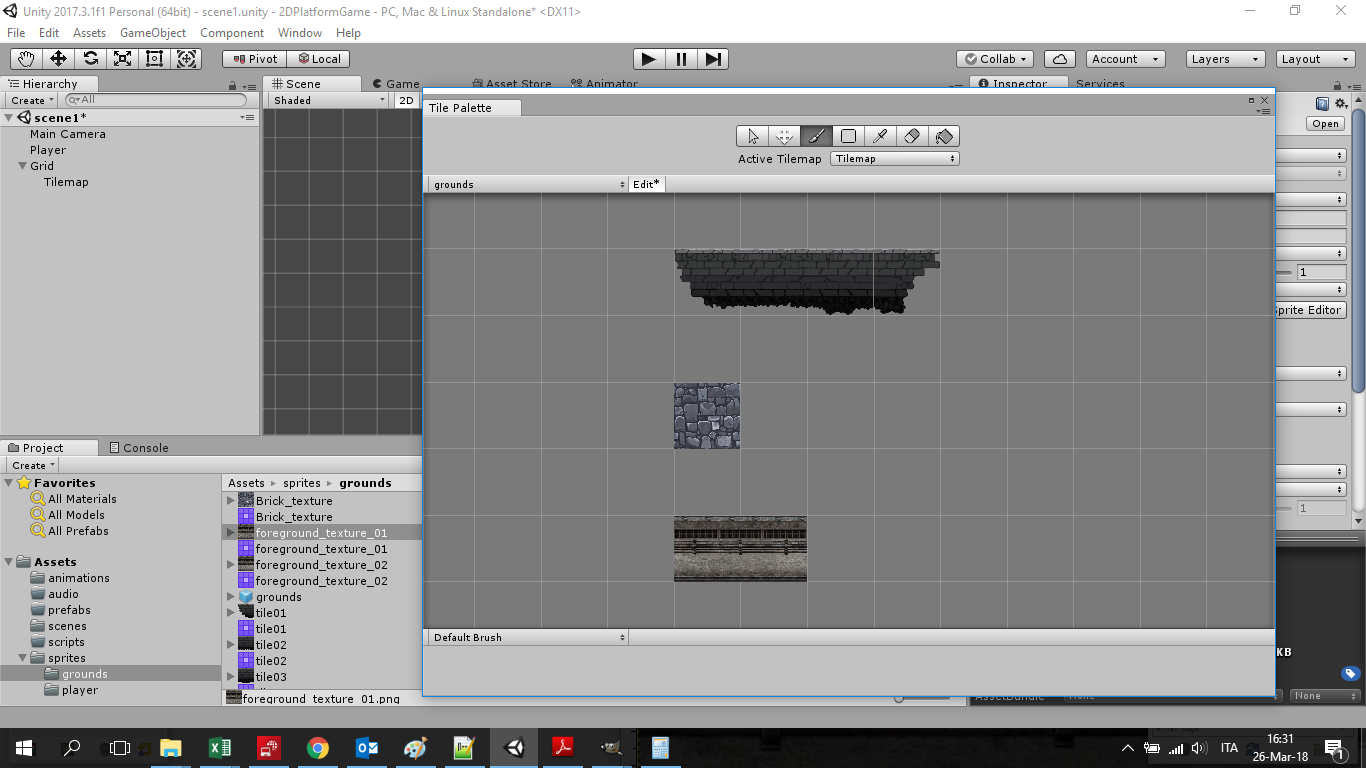
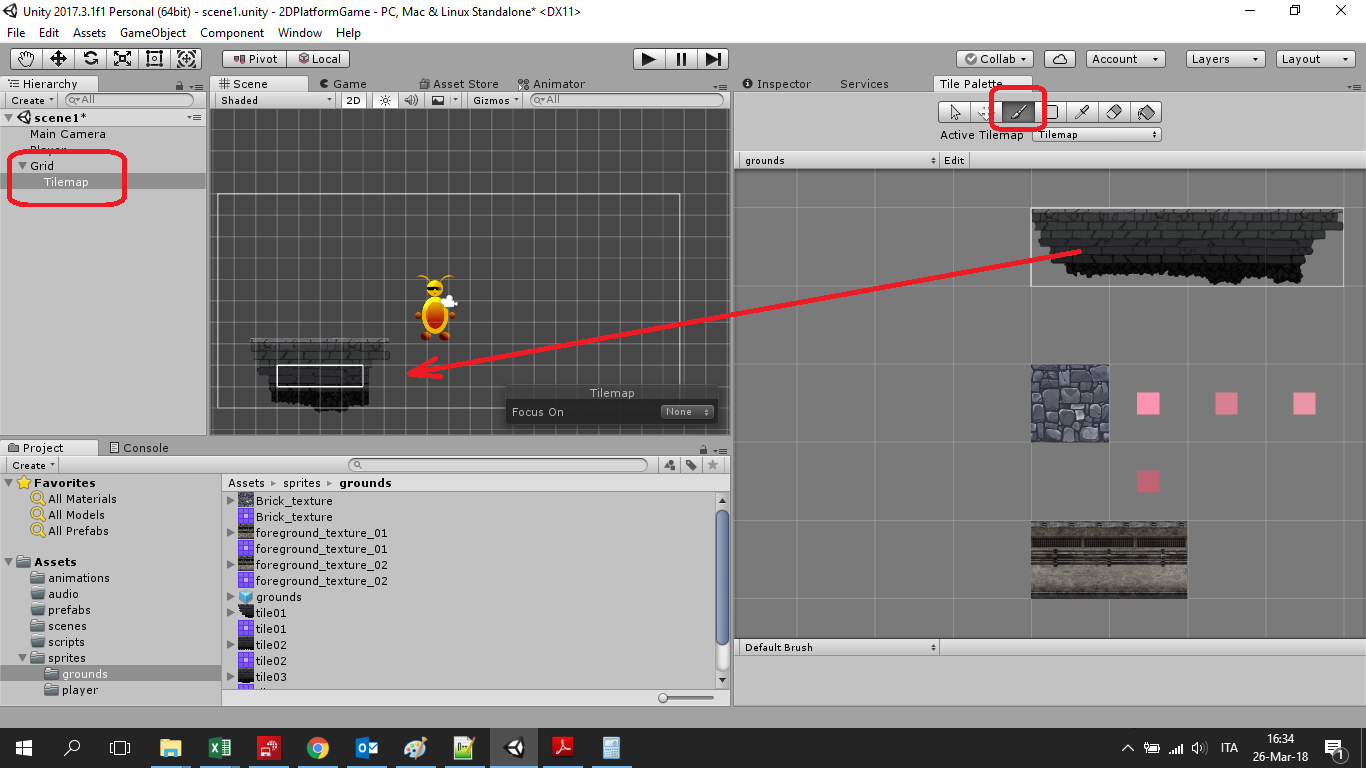
When finished, select the tile window from the hierarchy menu, select the tile or tiles you want to put in the scene and then place them where you want in the scene.
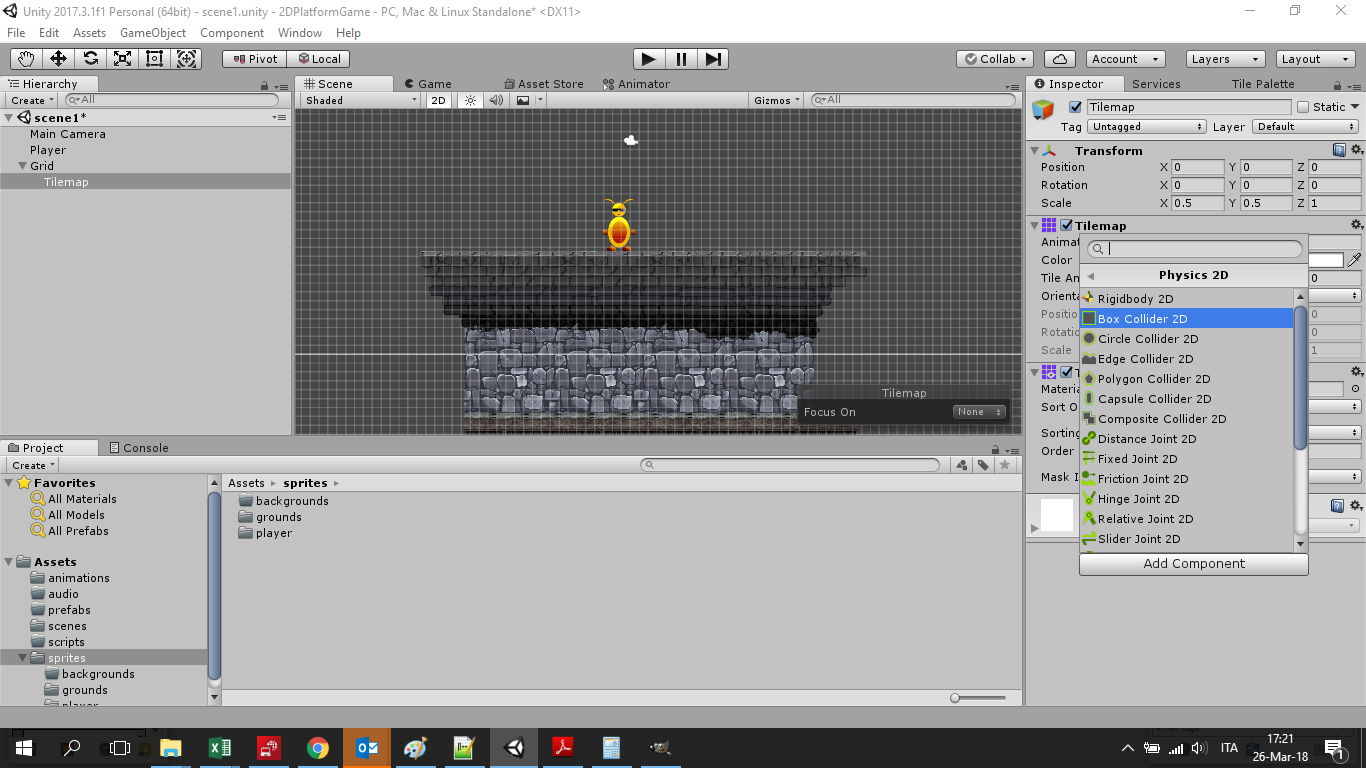
Then add the component collider2D to allow the player to collide with the ground. The
Collider 2D component is an invisible object that defines the shape of a 2D GameObject for the purposes of physical collisions.
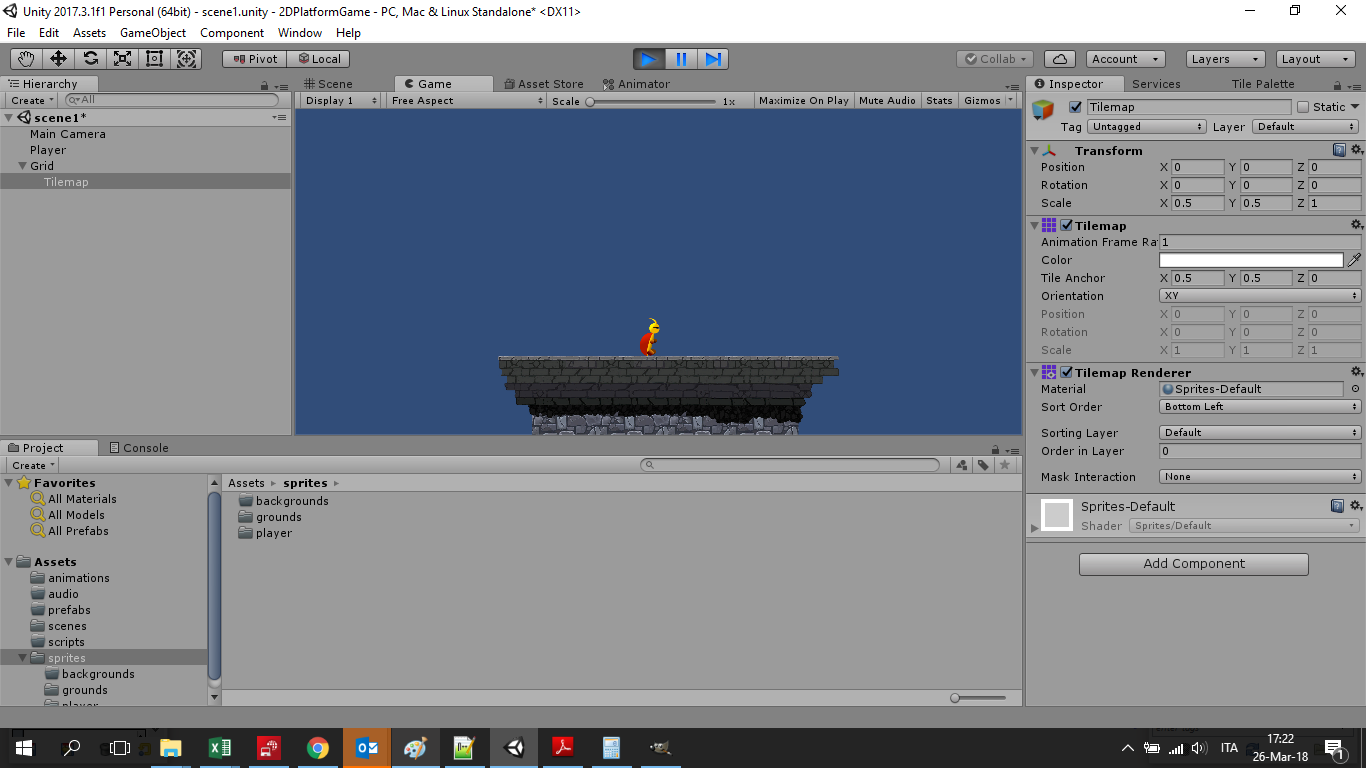
Here is the result:
As last thing, we can define a new layer tag from the inspector panel:
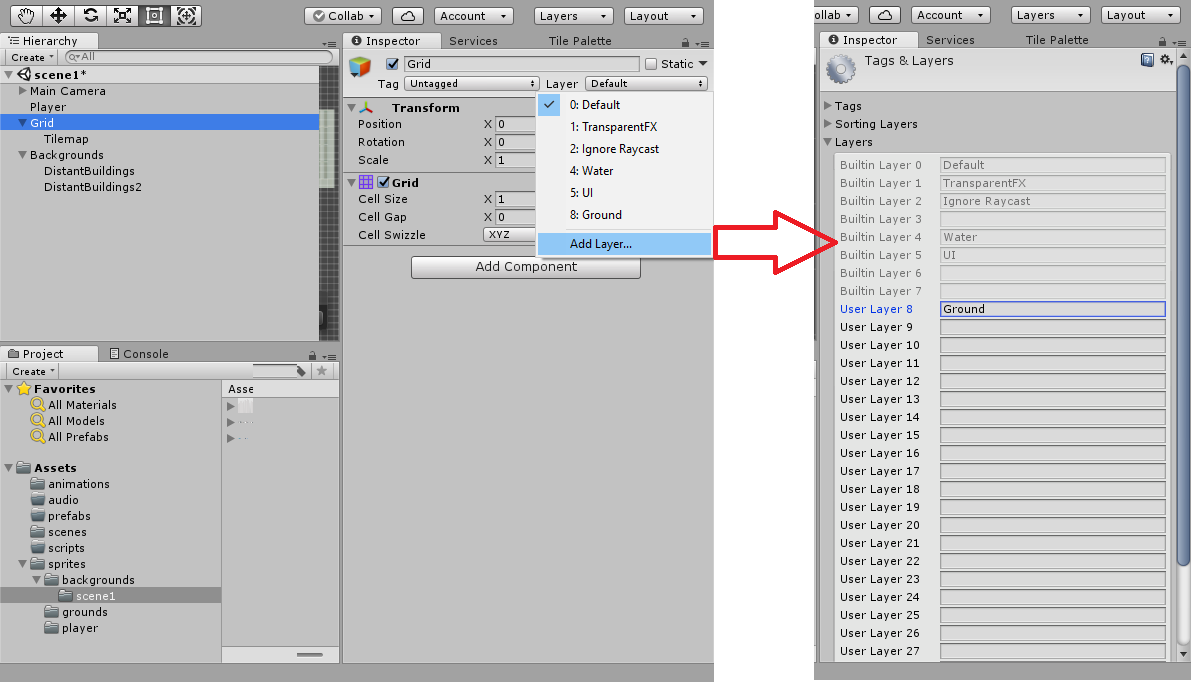
and assigning this to the ground.
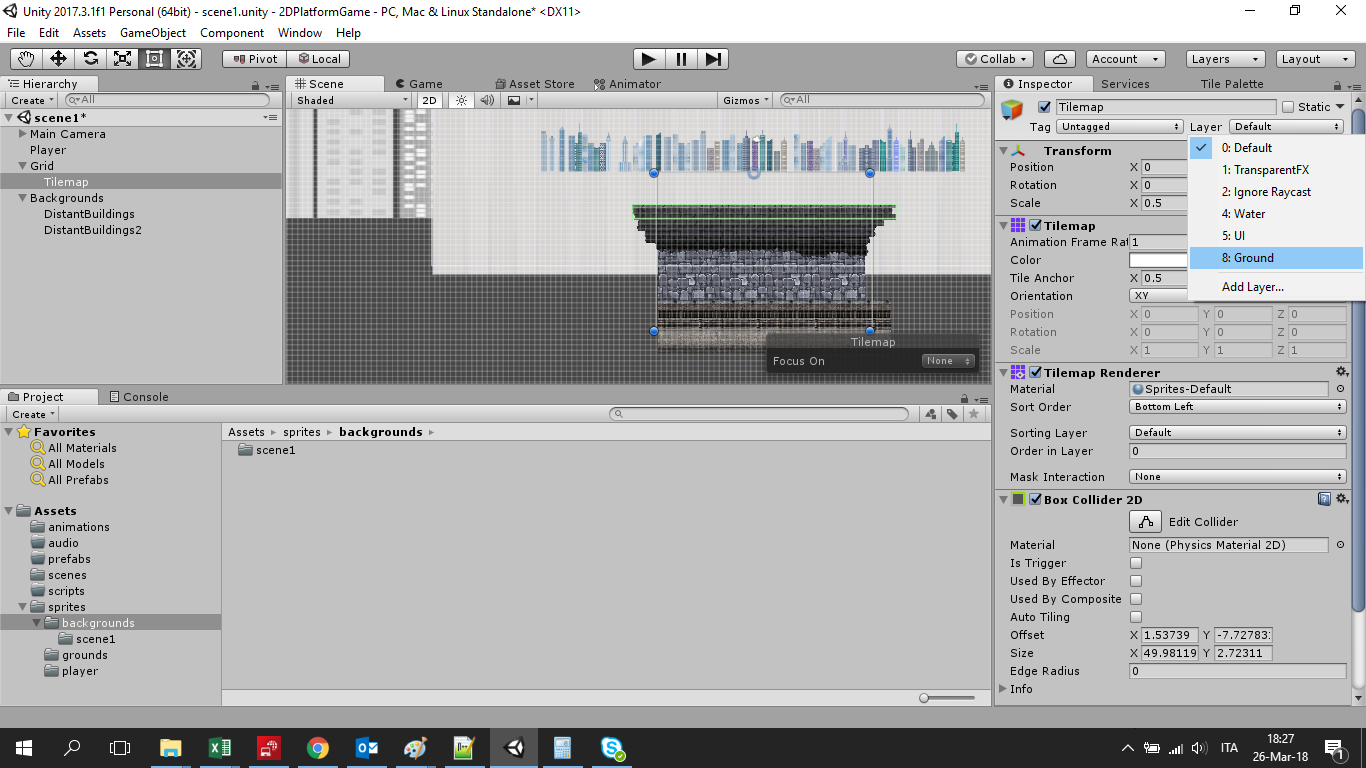
This operation will be useful later.
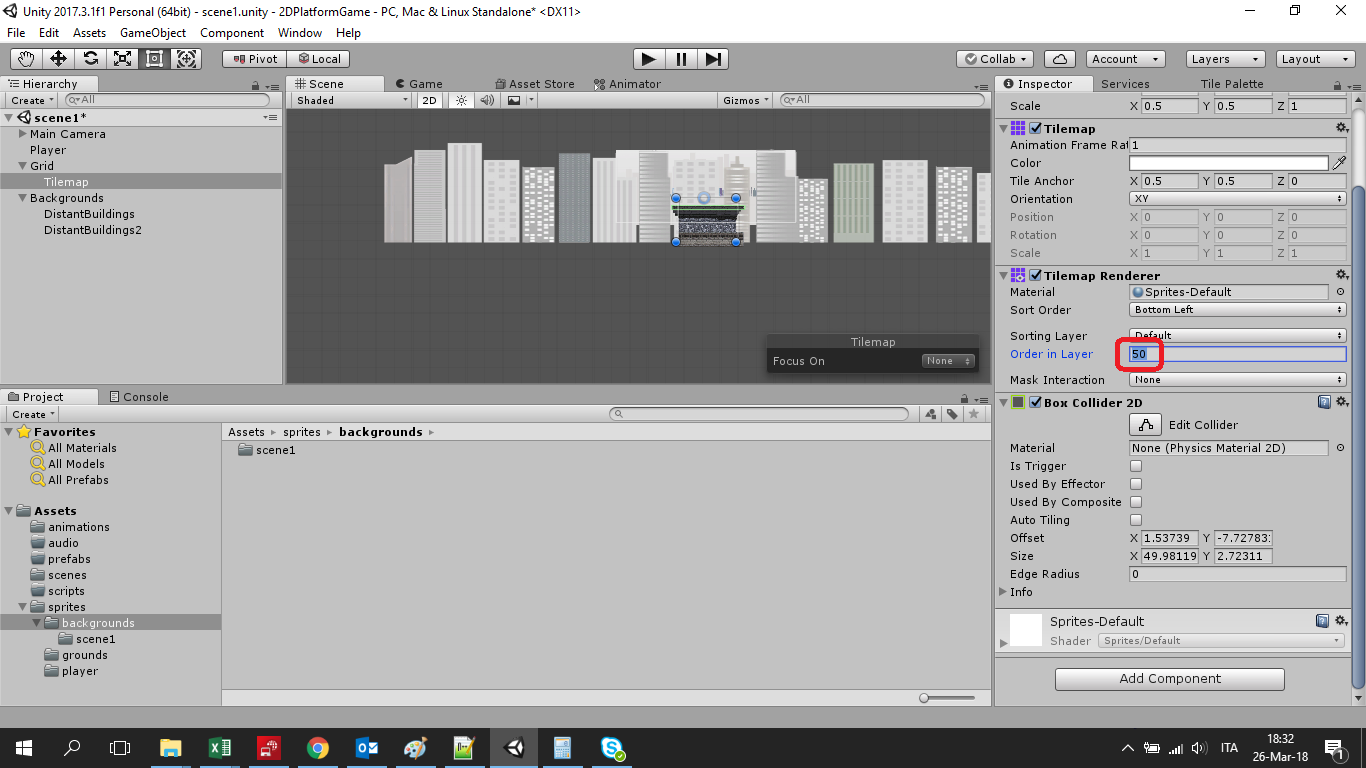
Grounds can be layered to make more complex terrain and to create a depth effect. In this case we have only one ground layer. Anyway we can assign it a layer number to order it. For example let assign it the value 50, so to be sure that it will be in foreground.
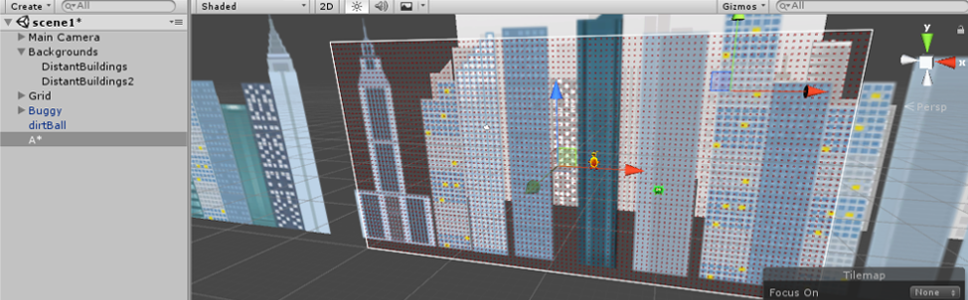
The background
When you create a new scene, by default Unity will create the scene and a "Main Camera" object.
In this game, I want to have scrolling backgrounds with parallax.
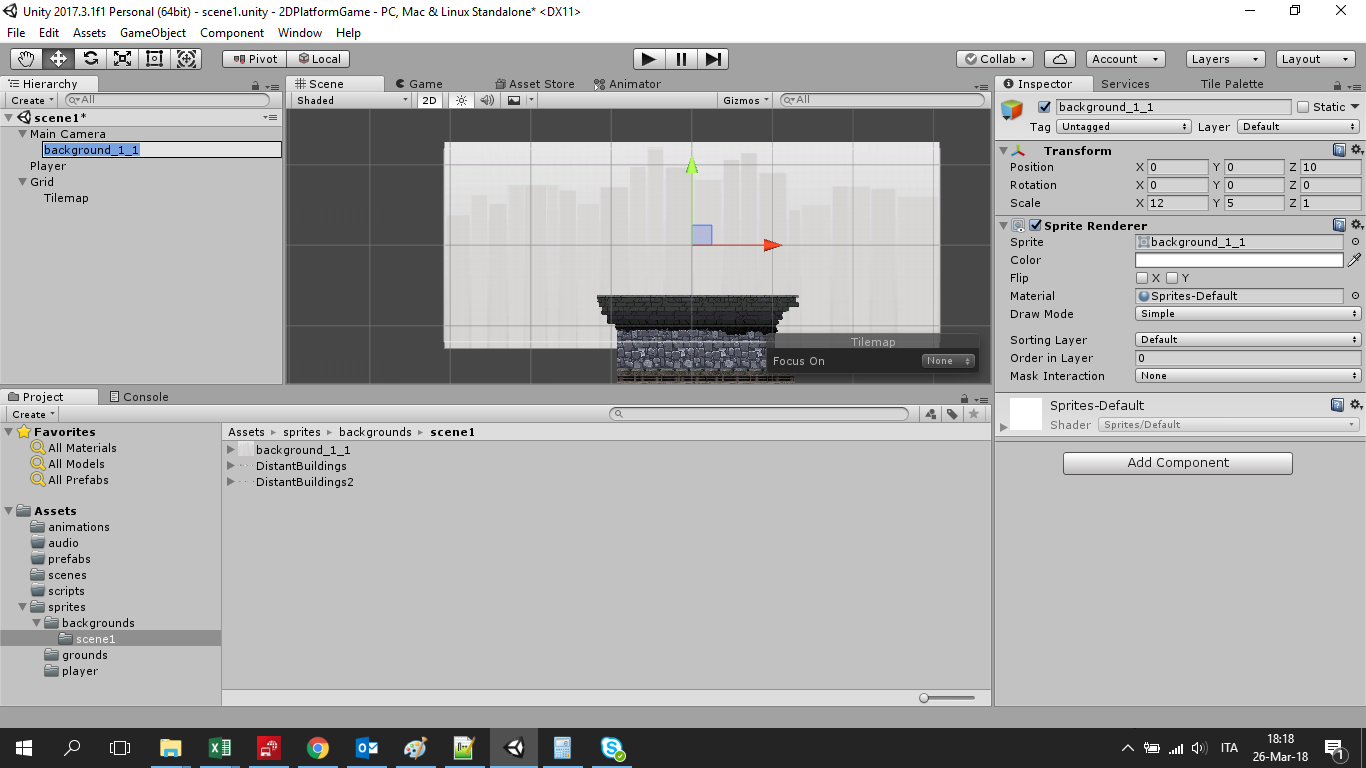
To do that, firstly I add a background to the camera. This one will be a fixed background associated to the camera and always present on the screen. It will also be the farthest. Scale it to adapt it to the screen size.
Then you should create one or more additional backgrounds that will move and create the parallax effect. In fact, the background (as well as the grounds) can be layered to make a depth effect.
To do that, follow three simple steps:
Create an empty object
add backgrounds
change layers' order
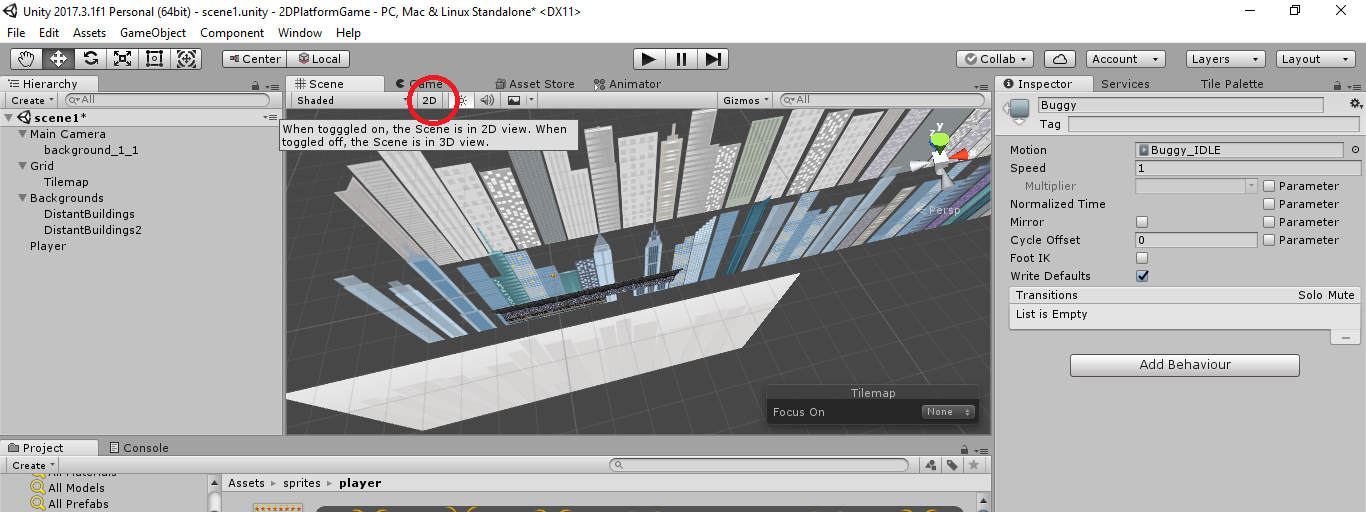
If you switch to the 3D visualization, the layer concept will be more clear.
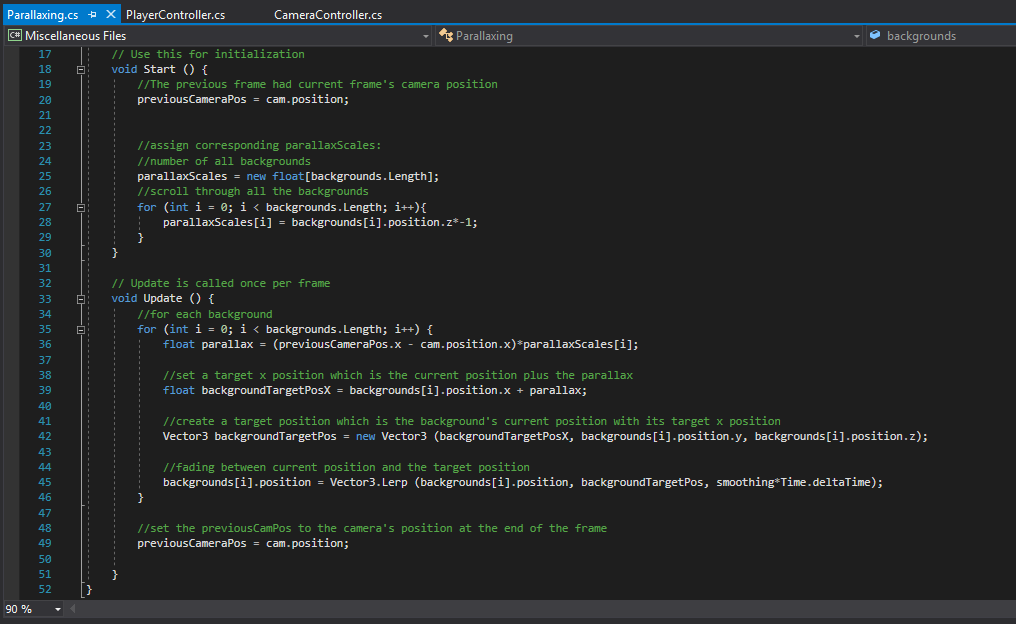
At this point we have to create the parallax effect.
Parallax is a displacement or difference in the apparent position of an object viewed along two different lines of sight,
We want to create scrolling background images to produce the feeling of parallax.
We have 3 backgrounds at the moment: the one associated to the camera (which is fixed), buildings1 and buildings2. We will make the last two scrolling.
Basically the concept is very simple: we are going to create an array of objects (2 in this case, but we can add more) to be parallaxed:

and for each of them we are going to use a scale index for scrolling. The effect will be backgrounds scrolling at different speed, thus producing the desired behavior.
You can download the sprites used in this lesson at this link:
DOWNLOAD